
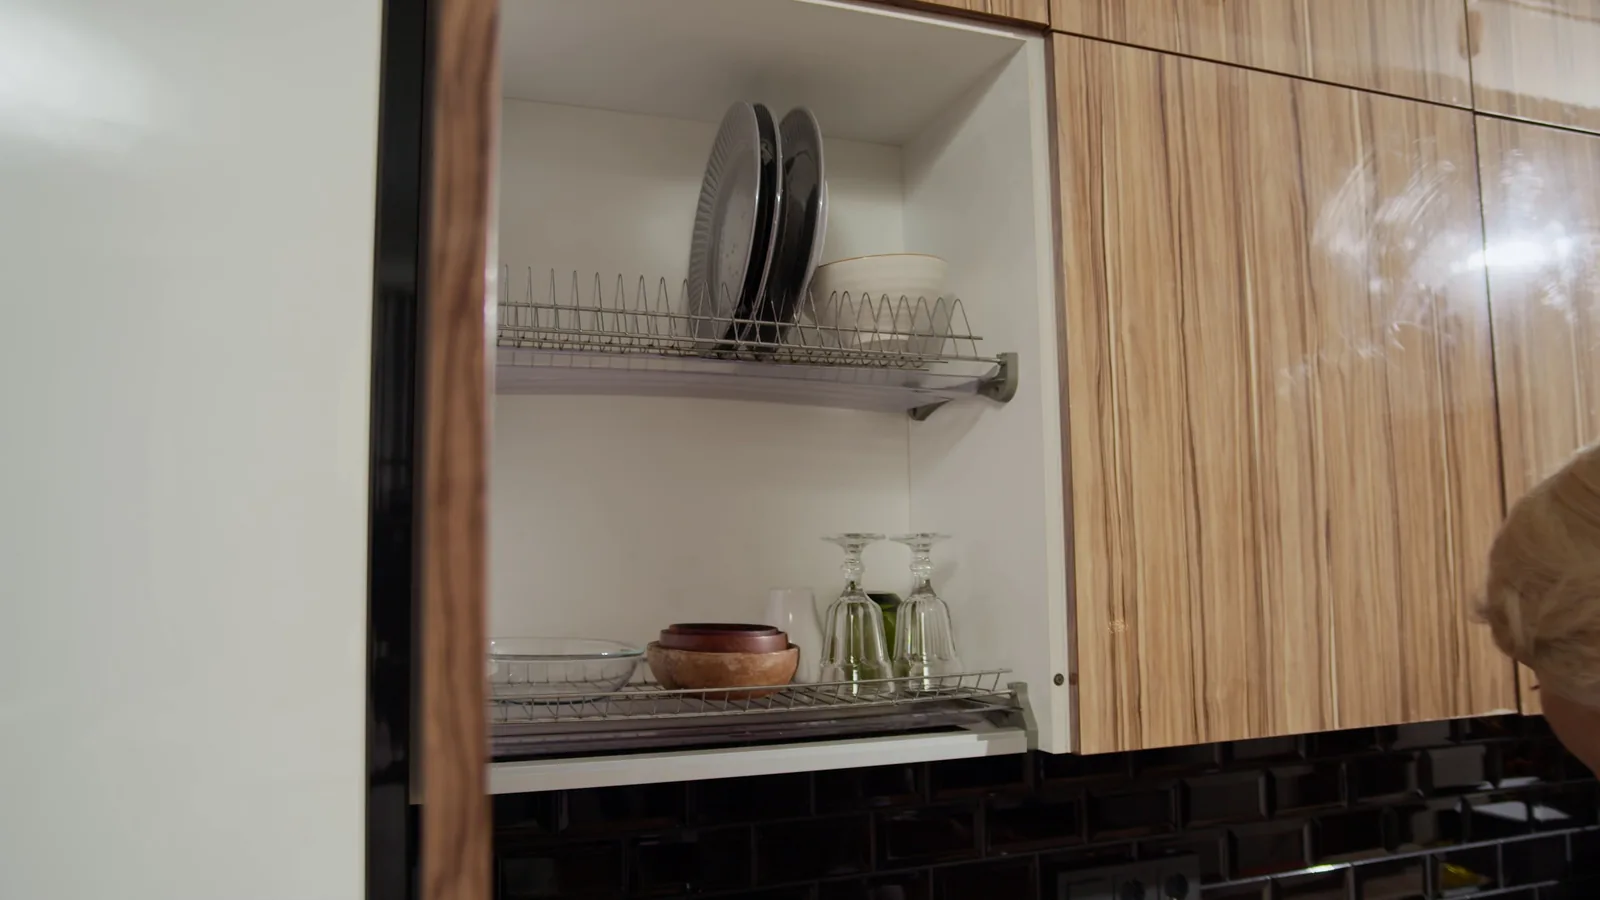
How To Organize Your Home With Budget Friendly Storage Solutions
Organizing your home does not require expensive matching containers or a complete redesign. With a clear plan, a small budget, and simple household items you already own, you can reduce clutter, make daily routines easier, and keep every room calmer. This guide walks you through assessing your space, setting a realistic spending plan, grouping items by how you actually use them, and building low-cost storage from boxes, baskets, shelves, and recycled containers. You will also learn how to label simply, maintain the system over time, and adjust when life changes rather than starting over.
Fast Answer
- Start with one small area, remove everything, sort into keep, relocate, donate, and discard, then return only what you truly use with a simple container or shelf.
- Use free or low-cost containers you already own, group items by daily use, and label clearly so anyone in the home can find and return things without asking.
Before You Start
- Choose one room or even one closet to begin, and gather a few empty boxes, bags, or laundry baskets for sorting items as you go.
- Set a realistic spending limit for the whole project and list what you truly need, such as shelf liners, hooks, or a few stackable bins.
- Measure the shelf, cabinet, or floor space you plan to use, and write down the width, depth, and height so containers fit without waste.
- Set aside a clear working hour when the household is calm, and keep a trash bag, a donation bag, and a pen and paper within reach.
Step-by-Step Instructions
Assess one space honestly
Pick a single area such as a kitchen cabinet, entryway, or bedroom closet, and empty it completely onto a clean sheet or table. As you remove each item, ask when you last used it and whether it earns its space. Place items into four groups: keep here, belongs elsewhere, donate or sell, and discard. Work slowly and avoid deciding for other people in the household; set their items aside in a labeled box for them to review later. When the space is empty, wipe the surfaces and note the exact width, depth, and height. This measurement step matters because containers and shelves that do not fit create wasted space and new clutter, while accurate numbers let you choose storage that truly works. Finish by returning only the keep-here items, using a temporary box or basket for now.
Set a small spending plan
Before buying anything, write a short list of the storage problems you actually have, such as shoes piling by the door or pantry items hiding behind each other. Next to each problem, note a simple solution you could build from what you own: a cardboard box, a sturdy basket, a spare shelf, or a repurposed jar. Set a total spending limit for the project and decide which few purchases would solve the most problems. Low-cost options often include stackable crates, tension rods, adhesive hooks, shelf risers, and clear containers with simple lids. Check return policies and measure again before you buy. This planning check matters because buying containers first usually leads to mismatched sizes and wasted money, while solving the real problem first keeps the project focused and affordable.
Group by daily use
Sort the items you are keeping into groups based on how often you use them, such as every day, once a week, seasonally, or rarely. Place daily items at eye level and within easy reach, weekly items slightly higher or lower, and seasonal or rare items on high shelves or in less convenient spots. Keep items used together in the same container, like coffee supplies with mugs or cleaning cloths with spray bottles. This order matters because convenience drives whether a system survives; if everyday items are hard to reach, they will drift back onto counters and floors. As you group, remove duplicates and anything broken beyond simple repair. Write a short label for each group on a piece of paper or tape so you can test the layout before making it permanent.
Build storage from what you own
Look for free and low-cost containers already in your home: shoe boxes, sturdy delivery boxes, glass jars, tins, fabric bags, and unused baskets. Cut boxes down to fit your shelves, and wrap or paint them only if you want a cleaner look. Use tension rods under sinks to hang spray bottles, adhesive hooks on cabinet doors for lightweight tools, and shelf risers or small crates to create a second level. Stack items only when the lower container is strong enough, and keep heavier things low. This step matters because matching new containers is rarely necessary, and building from what you own saves money while reducing waste. Check that each container fits your measured space, opens easily, and can be lifted when full.
Label simply and clearly
Label each container, shelf, or basket with a short word or simple picture that describes what belongs there. Use plain paper and tape, index cards, or removable labels so you can change them later. Write on the front or the top, depending on how the container is stored, and keep wording short, such as batteries, first aid, or winter hats. For shared spaces, place a small sample or photo on the outside so anyone can match items correctly. This labeling check matters because a system only works if everyone can return things to the right place without guessing; clear labels reduce questions and prevent piles from forming again. After one week, notice which labels were ignored and rewrite them to be clearer.
Maintain with short routines
Keep the system working with brief, regular routines rather than one large clean-up. Each evening, spend a few minutes returning items to their labeled homes and clearing flat surfaces. Once a week, open one drawer or shelf and remove anything that no longer belongs or has not been used. Once a season, review stored items and adjust containers as needs change, such as swapping winter and summer clothing. This routine matters because clutter returns gradually, and small check-ins catch it before it spreads; waiting until a space is completely disorganized makes the job far harder and more expensive. If a container keeps overflowing, move the extra items to a better spot or remove some rather than buying a larger bin.
Quick Reference
| Situation | Action | Why it helps |
|---|---|---|
| Your entryway floor is covered with shoes, bags, and keys. | Place one low shelf or crate for daily shoes, add a hook or small basket for keys and bags, and keep only items used that day in the entry area. | A dedicated landing spot at the door stops clutter from traveling into the rest of the home and makes leaving easier. |
| Kitchen cabinets are full but you cannot find what you need. | Empty one cabinet, group items by how often you cook with them, place daily items at eye level, and use a riser or small crate to create a second row. | Grouping by use and adding simple levels reduces digging, so you see ingredients quickly and avoid buying duplicates. |
| A closet or spare room has become a dumping ground. | Set a timer for twenty minutes, sort items into keep, relocate, donate, and discard, then store only the keep items in labeled containers that fit the measured shelf. | Short timed sessions prevent overwhelm, and measuring first ensures the containers you keep actually fit the space without waste. |
Common Issues
- You bought containers before measuring and they do not fit the shelf.: Return or repurpose what you can, then measure the exact width, depth, and height of the space and choose or build containers that match those numbers before buying anything else.
- The family ignores the new labels and items pile up again.: Keep labels short and place them where they are seen first, show each person where their items belong, and review after one week to rewrite any label that was not clear or convenient.
- There is not enough money to buy matching storage.: Use boxes, jars, baskets, and bags you already own, cut boxes to size, and spend only on the few items that solve the biggest problem, checking return policies before you buy.
Advanced Tips
- Use vertical space with stackable crates, over-door hooks, and wall-mounted rails, but keep the tallest and heaviest items low and secure.
- Create a labeled donate box that stays in a closet year-round so you can remove unused items gradually instead of during one large purge.
- Photograph the inside of each stored container and tape the photo to the lid or front, which helps anyone find and return items without opening everything.
Final Checklist
- Every container fits its shelf or floor space and can be lifted when full without straining.
- Daily items sit at eye level or within easy reach, while seasonal and rare items are stored higher or farther away.
- Labels are short, visible, and placed where the container is opened or seen first.
- Walkways, doors, windows, and electrical outlets remain clear, and heavy items are stored low and secure.
FAQ
How do I start organizing when the whole home feels overwhelming?
Choose one small area, such as a single drawer or entryway shelf, and finish it before moving on. Empty the space, sort items into keep, relocate, donate, and discard, then return only what you use with a simple container and a clear label. Finishing one small area gives you a working model you can repeat in other rooms without feeling defeated.
Do I need to buy matching containers to stay organized?
No. Matching containers are optional and often unnecessary. Measure your space first, then use boxes, baskets, jars, and bags you already own, cutting or adapting them as needed. Spend only on the few items that solve a real problem, and check return policies so you can change your mind if something does not fit or work as expected.
How do I keep the system from falling apart after a few weeks?
Build short routines instead of relying on motivation. Spend a few minutes each evening returning items and clearing surfaces, review one drawer or shelf weekly, and adjust containers each season as needs change. If something keeps overflowing, remove or relocate items rather than adding more storage, and rewrite any label that family members keep ignoring.